
Gluten-Free Country-Style Bread Recipe


Founder / Chef / Everyone’s Best Friend
Andy Hay
Welcome to my kitchen. I hope to inspire you to grow as a home cook!
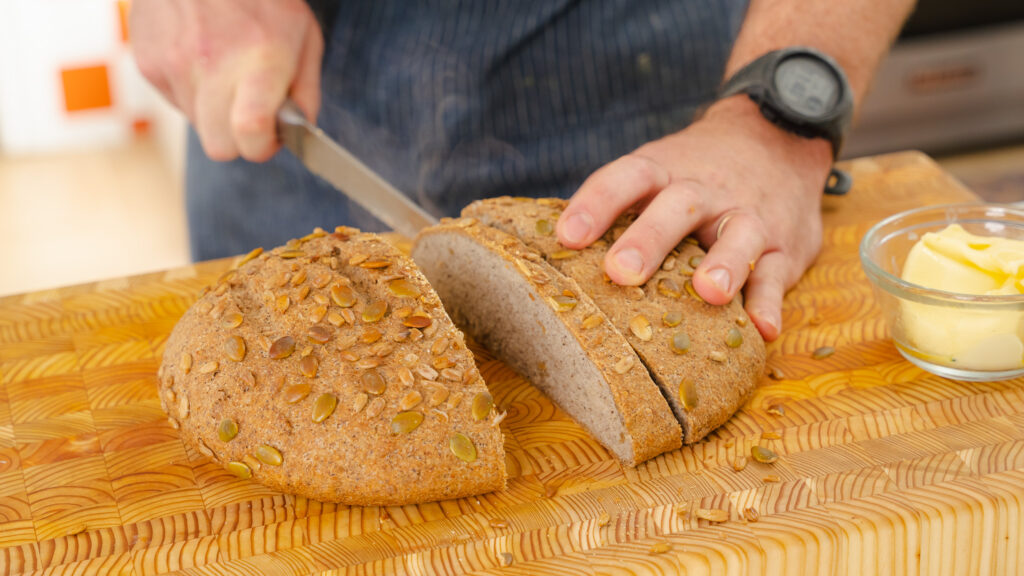
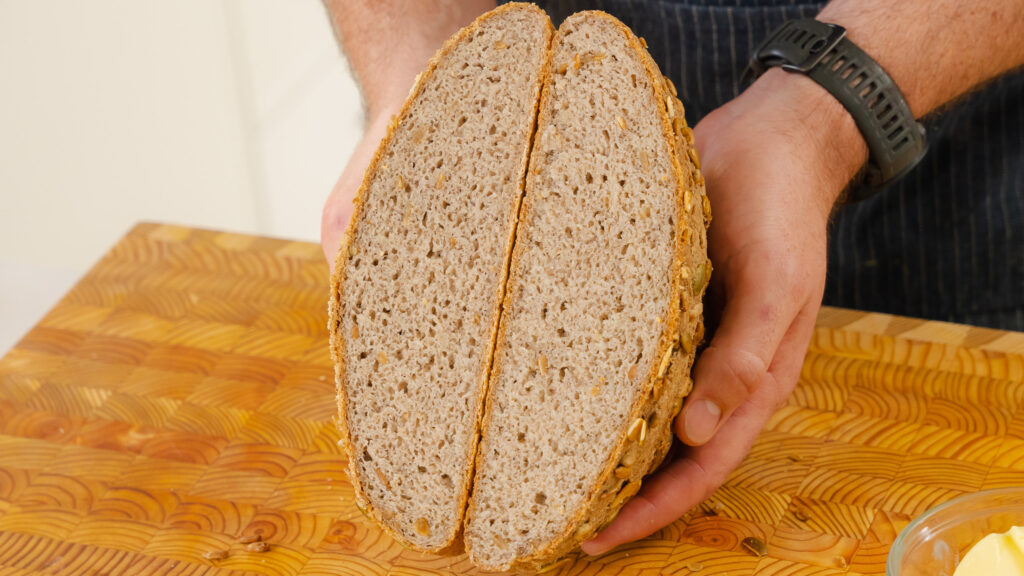
I have been getting asked for a long time to work on a bread recipe that can be enjoyed by my gluten-free followers. Well, here it is! This gluten-free country-style bread is super delicious. Great airy texture, fairly easy to make, with great flavour and a beautiful crust. I have tried a lot of gluten-free bread, and this is by far my favourite!
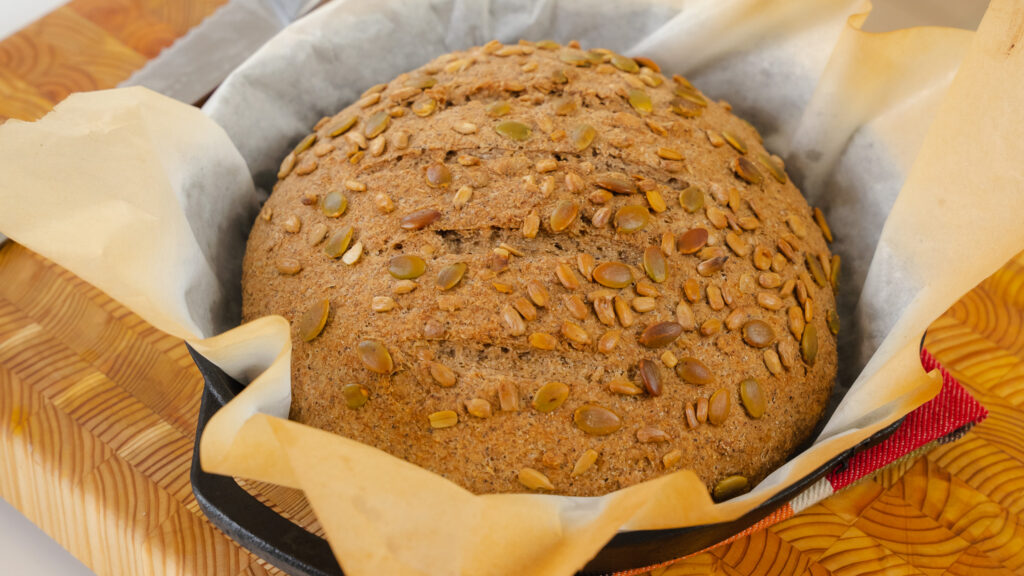
Bread is one of the great pleasures of life. I am not Gluten free, but I would imagine that not being able to enjoy bread would be really challenging. As such, I really wanted to do some recipe testing to find a recipe that people who cannot have gluten could enjoy, and I really think this Gluten-free country-style loaf is a winner!
Let’s breakdown the ingredients!
- Buckwheat flour
- Cornstarch
- Brown rice flour
- Psyllium husk
- Instant yeast
- brown sugar
- sunflower seeds
- olive oil
- salt
The secret ingredient!
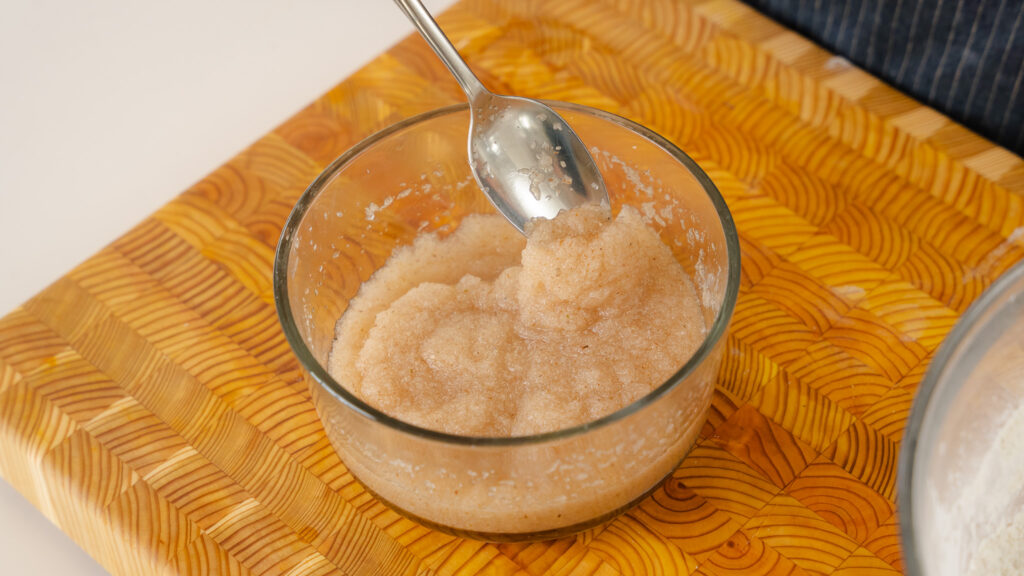
The secret ingredient for this country-style loaf is psyllium husk. Psyllium is a form of fibre that can also be used as a thickening agent in cooking. Without going to deep into the science, psyllium husk and water is used as a replacement for gluten. When you mix psyllium husk with warm water, it turns into a putty that mimics gluten. The mixture gives the bread a stretchiness that gluten-free mixers usually are lacking.
Tips for nailing this Gluten free bread
- Make sure you purchase psyllium husk and not psyllium powder. I was able to buy mine at Bulk Barn locally.
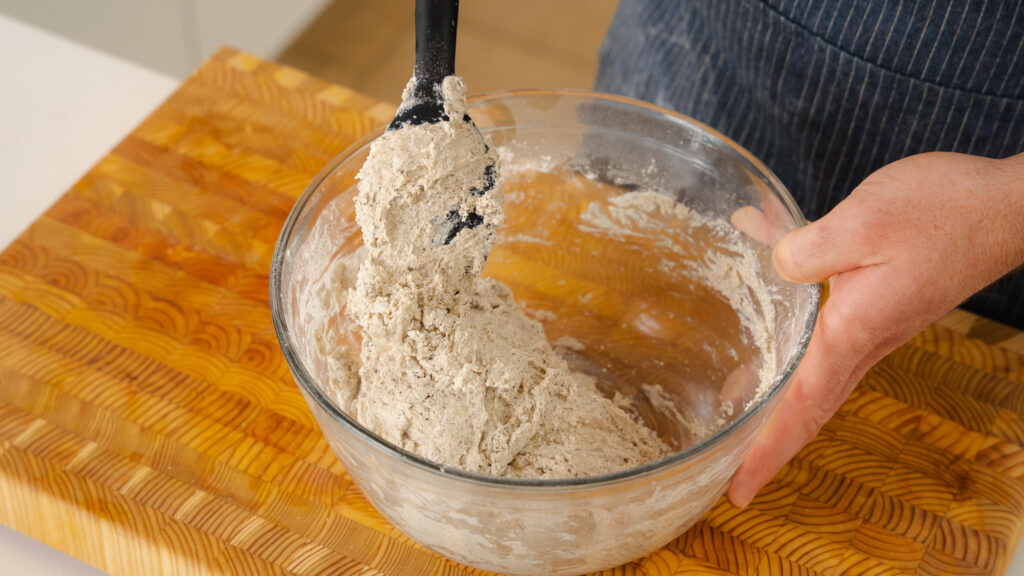
- Don’t go shy on the mixing. Once you have all of the ingredients mixed together in the bowl, really work the dough with your spoon. The mixture will seem like a paste but trust the process here.
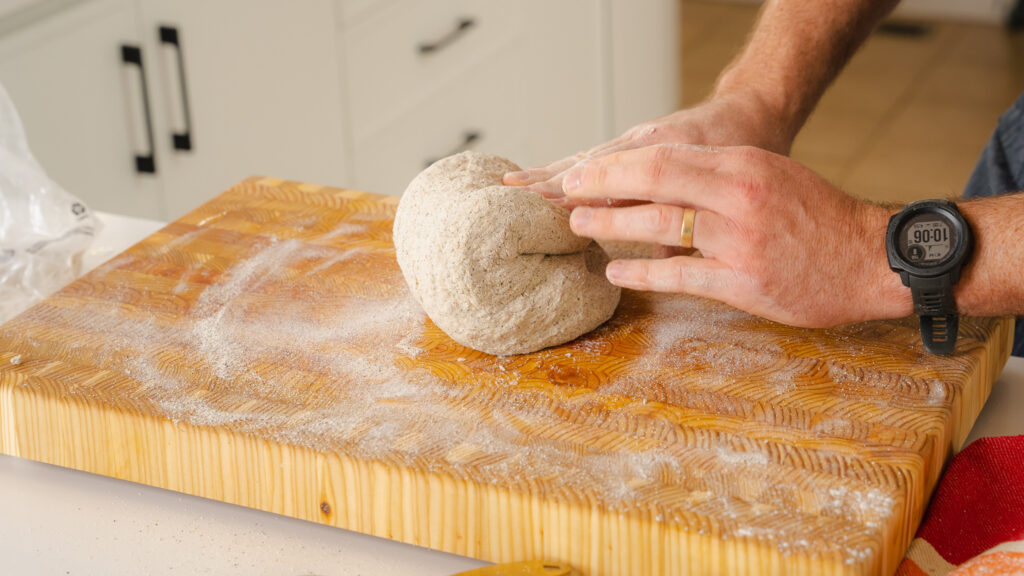
- Heavily flour your working surface. Once you pour the dough out onto your work surface, it still may feel fairly wet. Don’t be shy to sprinkle on up to an additional 1/2 cup of buckwheat flour as needed. You want the dough to still be sticky.. but not too sticky.
- Preheat your oven and a cast iron pan for 30-40 minutes. Any heat-absorbing pan will do the trick. Don’t skip this step as you really need a HOT pan to help the bread rise and give you a sturdy, crunchy crust.
- Create a humid oven for the first 30 minutes. A humid, steamy oven makes the bread “spring” or rise. Prior to placing the bread in the oven for the first 30 minutes, place a baking pan on the bottom rack of the oven and cover it with water. The steam will help the baking process. You can remove it after 30 minutes.
- Slice the top of loaf for even baking
- Let the bread rest after baking. Never cut bread that is right out of the oven. As tough as it is, give the loaf 10 minutes to cool on the counter before slicing!
Buying gluten-free ingredients
Most of these ingredients should be available at most grocery stores. Specialty stores will absolutely stock these ingredients. If shopping for ingredients in Canada, check Bulk Barn, as that is where I bought mine 🙂



Ingredients:
Dry ingredients
- 2 1/2 tsp instant yeast
- 2 tsp brown sugar
- 1 1/2 cups buckwheat flour
- 3/4 cup cornstarch potato starch works as substitute
- 2/3 cup brown rice flour
- 2 tsp salt
- 1/3 cup sun flour seeds (optional)
Psyllium husk gel
- 1/4 cup psyllium husk
- 1 cup warm water
Wet ingredients
- 1 1/2 cups warm water
- 2 tsp apple cider vinegar
- 1 1/2 tbs olive oil
Seed topping (optional)
- 1/4 cup pumpkin seeds
- 1/4 cup sunflower seeds
Instructions:
- In a bowl whisk together yeast, sugar, buckwheat, corn starch, brown rice flour, and salt.
- In a separate small bowl mix together psyllium husk and 1 cup of warm water. Continue to stir until a gel like mixture forms.. how cool is that? Add the gel to the dry ingredients.
- Next up pour 1 1/2 cups warm water, olive oil, and 2 tsp of apple cider vinegar into the dry ingredients. Using a spatula mix the dough. At first it will seem more like a paste than a dough, trust the process here. Continue to stir the mixture for about 5-10 minutes until the dough easily comes off the sides of the bowl.
- Now heavily flour your working surface with buckwheat flour and plop the dough out on to the counter. Flour your hands and start kneading the dough over itself on the counter. The dough may feel very sticky and that is ok. Add additional flour as needed. Dough should be sticky, but shouldn't stick to your hands while kneading. Work dough into a ball shape. You are doing great!
- Next up pour pumpkin and sunflower seeds onto the counter top and drop the top smooth side of the dough ball on top of them. Flip dough over and place on a parchment paper lined baking try. Cover dough with a clean tea towel and let the dough rise for 60-90 minutes or until it has doubled in size.
- After the dough has been rising for about 40 minutes, preheat the oven to 450F. Place a cast iron pan (or any pan that absorbs heat) into the oven. Once dough is done rising place a baking sheet or pan into the bottom rack of the oven and fill with water. This creates a humid, steamy environment which helps the bread rise.
- Once dough has doubled in size, remove tea towel, and with a sharp knife create small slits on top of the bread loaf. Now, VERY CAREFULLY remove hot cast iron pan from oven and place the parchment paper and dough onto the pan. Place pan into the humid oven and bake for 30 minutes.
- After 30 minutes of baking remove the water pan at the bottom of the oven and bake the loaf for another 30 minutes or until it is nice and browned.
- Let loaf cool for 10 minutes and then slice and enjoy!
Andy Hay
Andy is the founder of ECK, Chef, and let’s admit it… the reason you’re here. He taught himself to cook, and it all paid off when he secured his spot in the season 5 Finale of Master Chef Canada. Now, Andy uses his big energy to showcase recipes that actually make people want to cook. His brand was built on butter and East Coast charm, and Andy’s kept that same energy ever since. Off-camera, you’ll find him doing what started it all: cooking for his two daughters, wife and the people he loves.
Similar recipes


Rate & leave a comment
18 Comments
— End of comments —
— No more comments to load —
My husband has an allergy to gluten. He loved this bread. It was the best he gad tasted, noting it was moist. And of course, delicious. I really enjoyed it too. This recipe is a keeper
Best review! Thanks for letting me know, Susan!
I’d like to bring this for my GF daughter when I visit next which requires me to fly. Any issue with baking and then freezing for a travel day to toast next morning? Don’t think so, but checking with the expert.
I don’t think there would be an issue with that, Cynthia!
This bread was fabulous and was not the typical bleh GF bread. I made it for our GF daughter and the whole family loved it!
Love this do much, Kelly! It’s a keeper for sure.
Can the brown rice flour be substituted with for a different flour such as white rice flour or almond flour? Which would work the best for someone who is sensitive to brown rice?
Hi Mary, I’d swap the brown rice flour for white rice flour — it’s the closest match and will keep the texture light and the structure stable. Almond flour won’t work here since it behaves very differently and would make the loaf dense and crumbly.
White rice flour is your best bet!
This recipe is a winner. I was a home bread maker prior to a celiac diagnosis. I decided not to attempt GF bread making until Andy came up with a recipes. He did! The ingredients are nutritious and the flavour is delicious. The crust is the best I have ever had, gluten free or not. I used an electric stand mixer for 10 minutes, and I covered my cast iron Dutch oven for the first half hour in the oven (no water pan). I skipped the seeds and added the pysllium last by mistake. I’m super happy with the results. Buckwheat flour has a distinctive flavour and it works great with this rustic style bread. I am going to try this recipe next in a loaf pan to get sandwich sized slices. This bread was so good fresh that I’m sure it will be fabulous toasted. Thank you Andy!!!
Love this so much, Karen! So happy to hear this was such a hit.