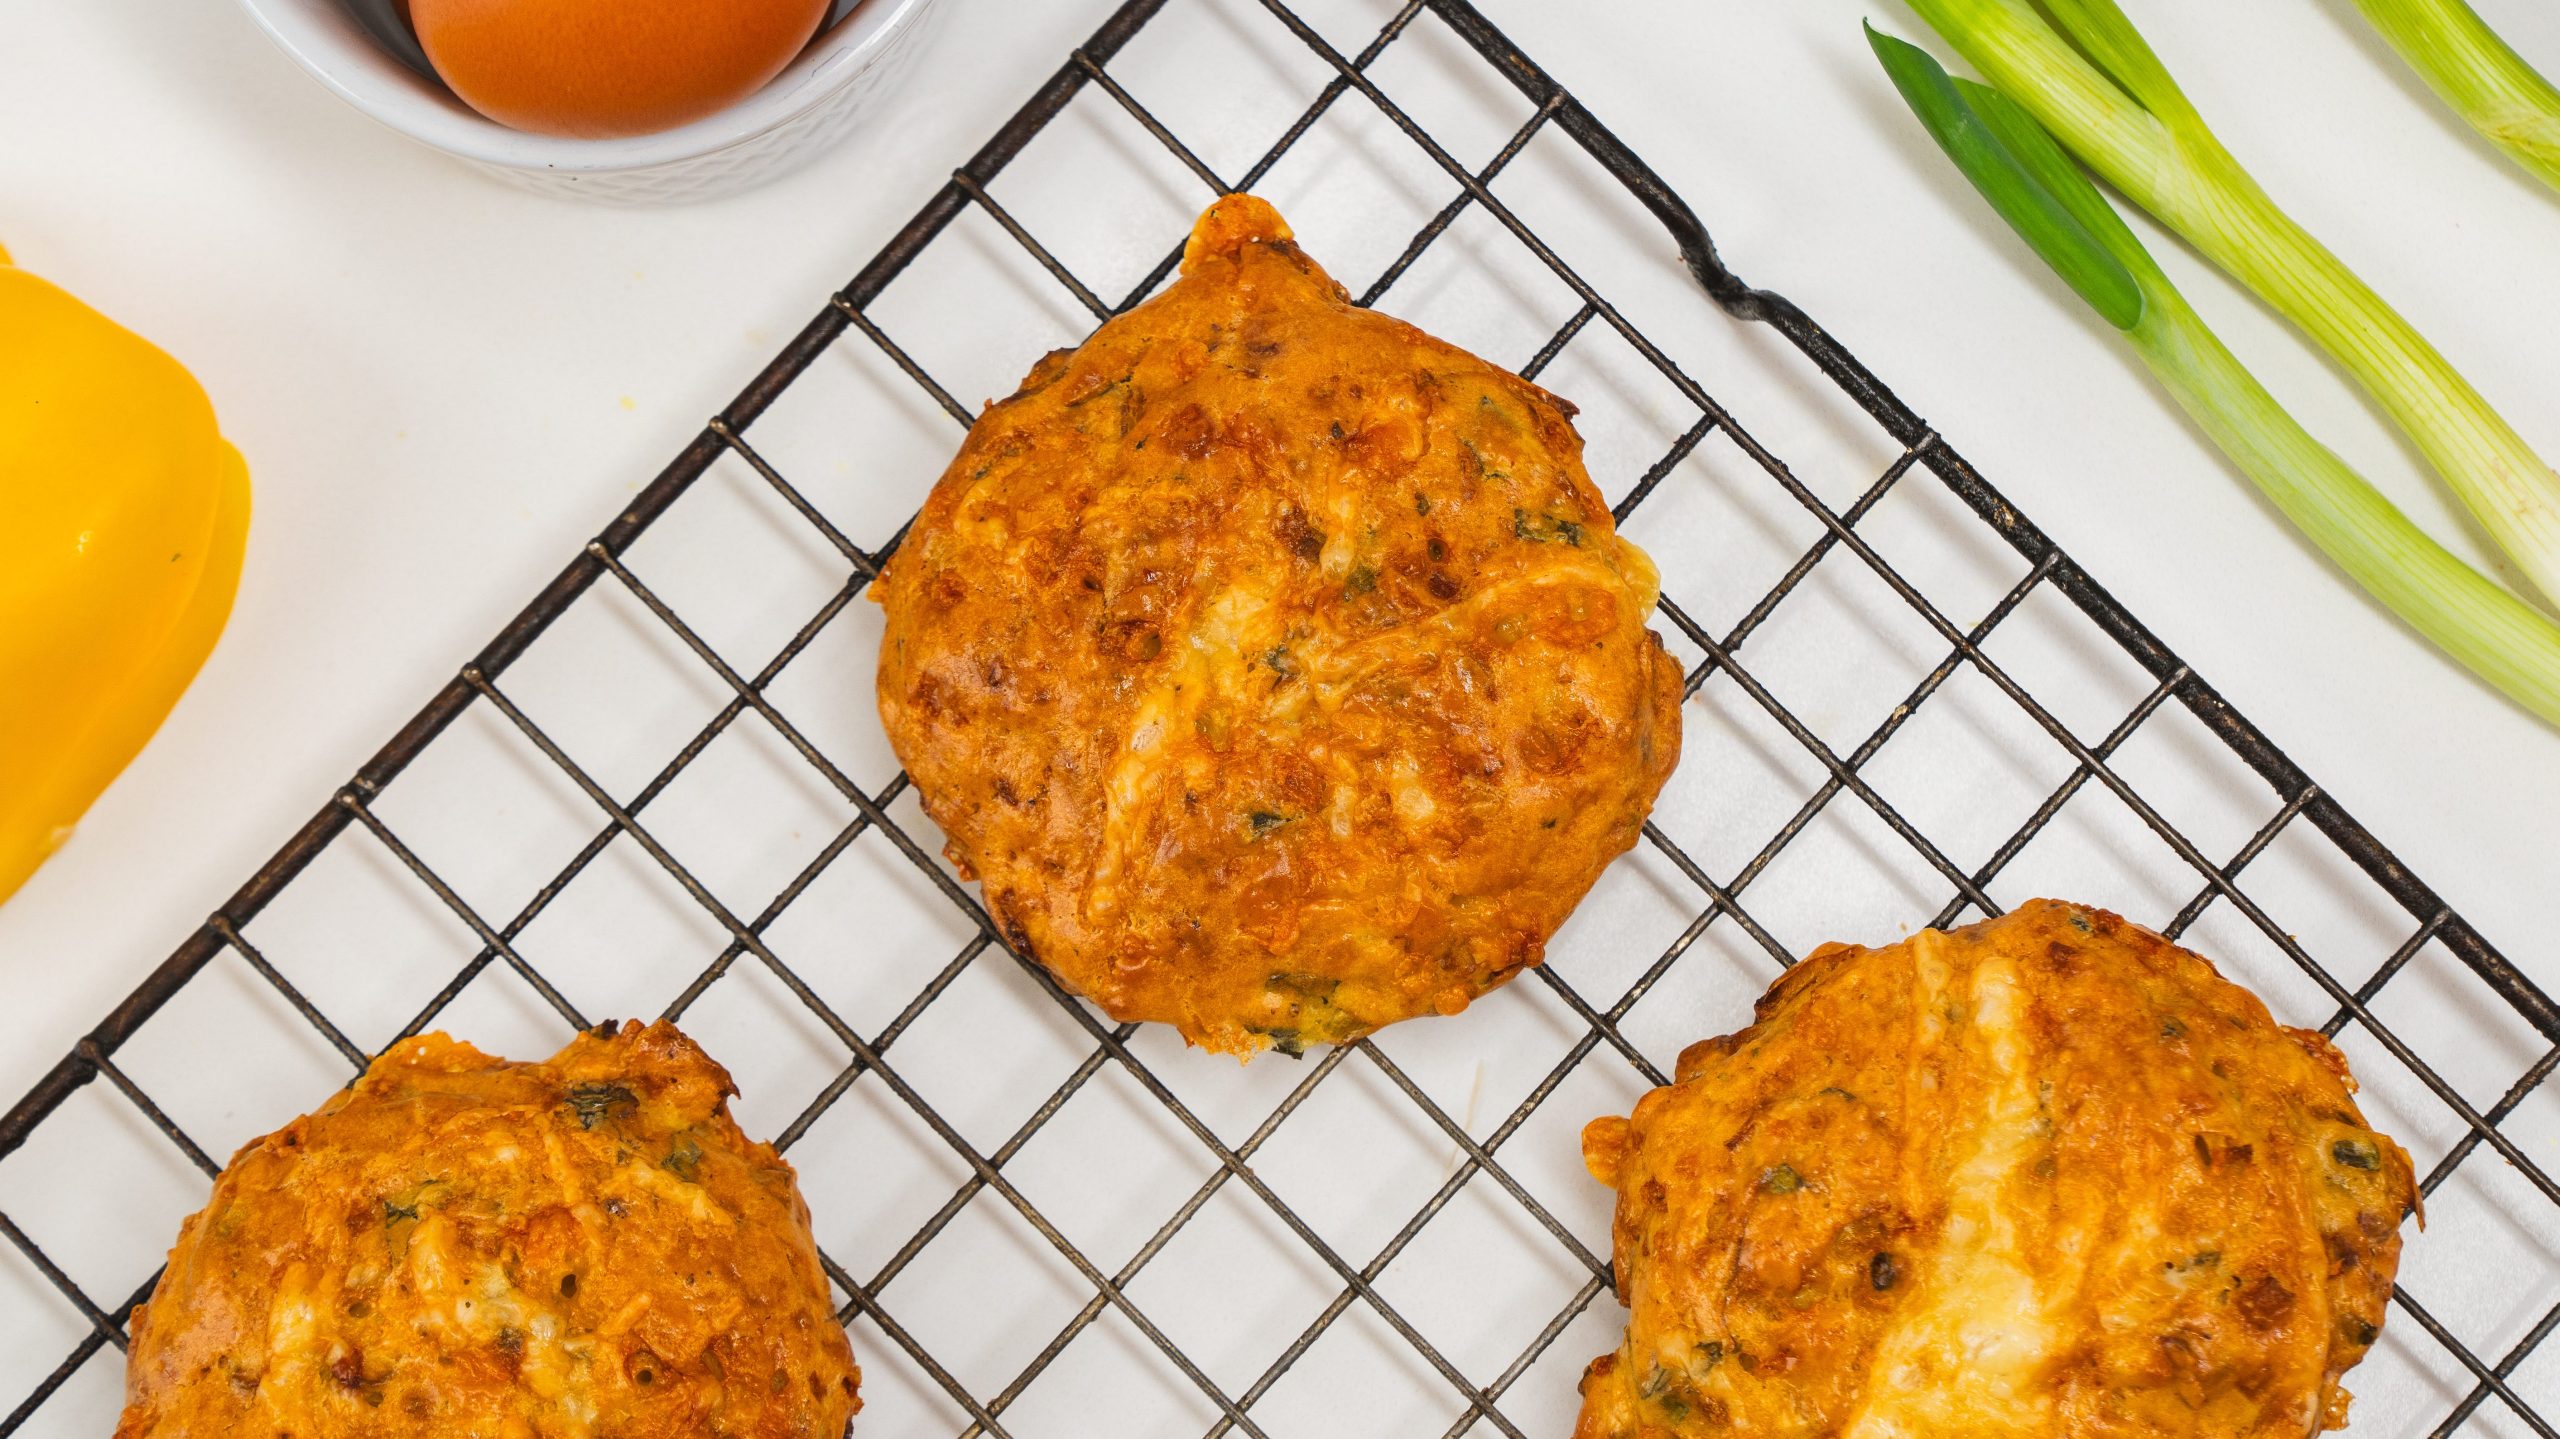
Strawberry Rhubarb Tea Biscuits
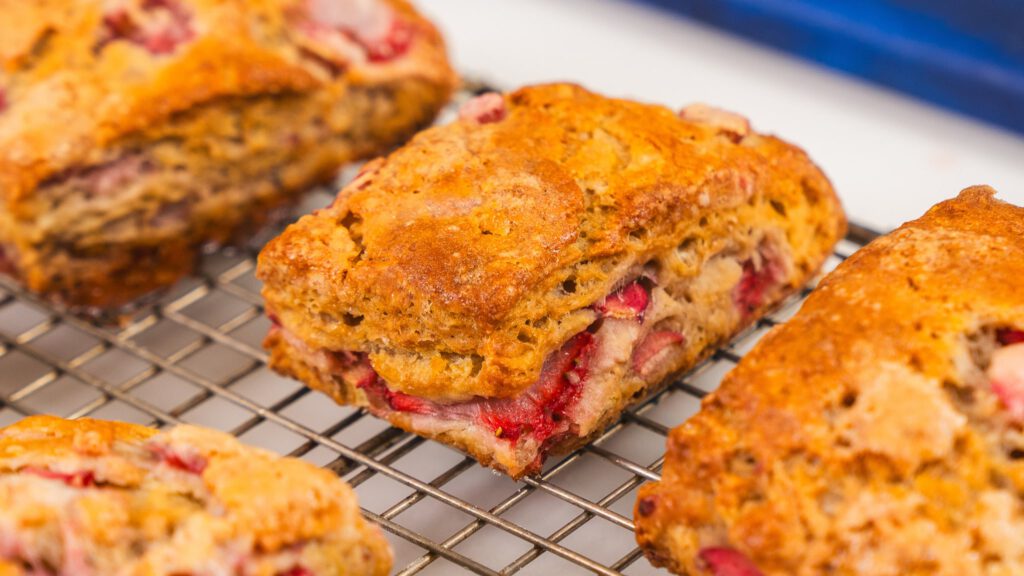
Freshly made tea biscuits are truly one of lifes’ great pleasures, and the added flavor of fresh strawberries and seasonal rhubarb takes them to a whole other level. Flaky, Buttery, and might just be one of my favorite bites of food! I have made tea biscuits many times, but never like these Strawberry Rhubarb Tea biscuits which are a hit! So whether you call this a strawberry rhubarb scone, or a strawberry rhubarb tea biscuit, it doesn’t matter to me as either way they are delicious!

How to make tea biscuits?
Making tea biscuits is fairly simple! You can do this. I have a couple tips to make sure nail them. Firstly start by adding all of your dry ingredients into a bowl. From there using a cheese grater, shred in frozen butter. This is a key step as the frozen butter releases more steam and helps create more layers. Once the butter is mixed in with the dry ingredients pour in the mix, berries if using, and stir to form a shaggy dough. Now pour the dough out onto a lightly floured surface and using a rolling pin roll the dough until it is a rectangle shape that is about 1/2 inch thick. Fold the dough like a letter going into an envelop, and the repeat 3 times. Cut the dough into shape, brush with milk, and then bake at 425 for 25-28 minutes.

What’s the difference between a scone and a tea biscuit?
I get this question a lot. Andy, is this a scone or a tea biscuit? And to be honest I am not sure lol. After doing some research I am reading that scones are traditionally made using eggs and cream, while tea biscuits are flakier and are generally not sweet. So based on that this strawberry rhubarb tea biscuit is technically a tea biscuit, it defiantly has scone vibes. What ever you want to call this, it’s awesome and you should make it!

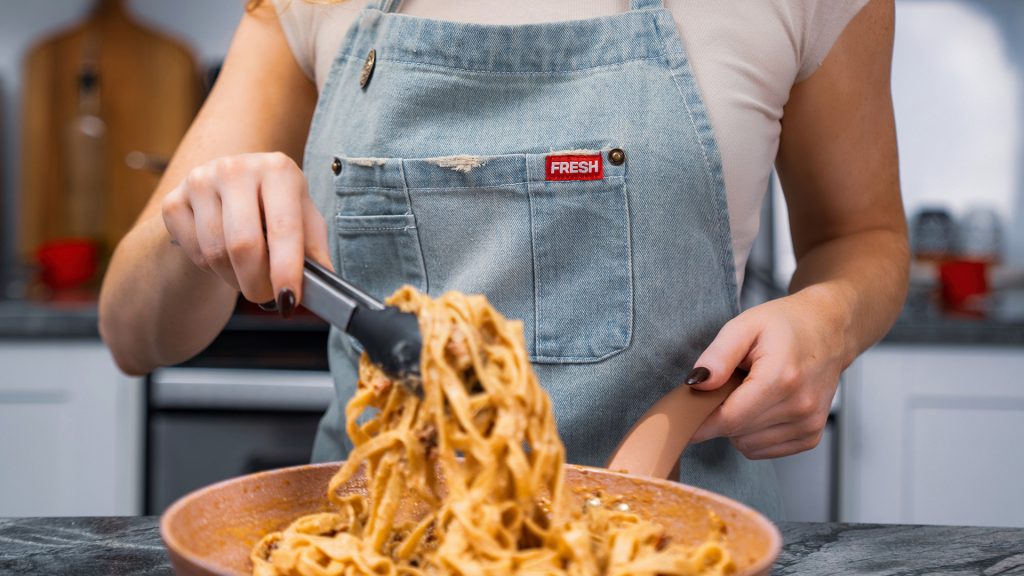
Looking for a high quality kitchen apron?
Every home cook needs a high quality kitchen apron that shows of their personality! Is that is you, you have to check out Fresh Kitchen Co to find a flavor apron to match your cooking style? Are you a saucy red? A Blueberry Muffin Blue? Classic Black Pepper? Bring you kitchen style and function to the next level with Fresh!
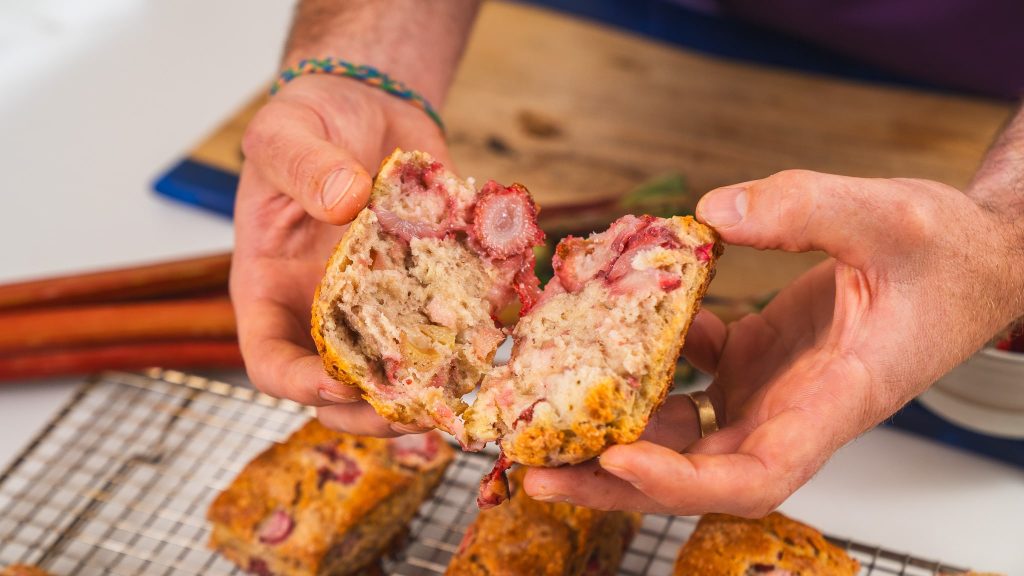
Tips for making Strawberry Rhubarb Tea Biscuits
While this recipe for Strawberry Rhubarb Tea Biscuits follows the same process and steps as any of my other tea biscuit recipes, there is one main difference. You will find that adding the strawberries to the dough will result in more moisture and wetness. This will require you to adjust the amount of flour needed especially while rolling and folding. The exact amount will depend on your strawberries. Don’t be shy to sprinkle on more flour while folding as you want to texture to be sticky but not wet.

Other baking recipes you might enjoy!
If you liked this strawberry rhubarb tea biscuit recipe here are a couple more you should add to your list 🙂
Strawberry Rhubarb Pie Squares
Quick and easy Coconut Cheesecake


Ingredients:
- 2 1/2 cups flour
- 2 tsp baking powder
- 1/2 tsp baking soda
- 1/2 tsp salt
- 1 tbs sugar
- 1/2 cup frozen butter, grated
- 1 cup milk or butter milk
- 1 tsp vanilla
- 1 cup strawberries, sliced
- 1 cup rhubarb, chopped
- 1/2 cup milk, for brushing biscuits before baking
- 2 tbs sugar, for sprinkling
Instructions:
- Preheat oven to 425F and prepare a baking sheet with cooking spray or parchment paper.
- In a bowl mix together flour, baking powder, baking soda, sugar, and salt. Add in shredded butter and mix together to make sure butter is well distributed.
- Create a well in the flour (a small hole) and pour in buttermilk and add strawberries, rhubarb and vanilla. Mix together until a shaggy dough forms. Tip out onto a floured surface, lightly bring dough together and then and shape into a rectangle using a rolling pin. If dough feels too sticky add more flour. Using the rolling pin, roll the dough out until it's about 1/2 inch thick. Starting with the end of the rectangle closest to you, fold end to the middle. Repeat with end of the rectangle farthest away from you. You should now have a square. Turn the square a half turn and then roll back into a rectangle; repeat the folding process two more times. This is what creates nice flaky layers.
- Roll dough to about 1/2 to 2/3 of an inch thick.
- Using a knife, cut out biscuits. If you want to use a cookie cutter go for it, I have now started cutting the biscuits into a square share to avoid any waste.
- Place the biscuits onto the baking sheet and lightly brush the tops with butter milk. If you do not have a pastry brush just dip paper towel into the butter milk and lightly spread on top. I like to also sprinkle sugar on top prior to baking
- Bake for 25-28 minutes or until tops are nice and brown.
- Remove from oven and allow to cool for 5 minutes on the baking pan. Now Enjoy!
Similar recipes


No Comments
No comments yet. Be the first!
— End of comments —
— No more comments to load —