
Mom’s Ginger Poke and Pour Cake


Founder / Chef / Everyone’s Best Friend
Andy Hay
Welcome to my kitchen. I hope to inspire you to grow as a home cook!
I can’t believe sharing this recipe has taken me this long: my Mom’s Ginger Poke and Pour Cake. I don’t think there was a single-family gathering that it wasn’t made or heavily referenced! Its rich, creamy texture and bright ginger burn are like a warm hug on a cool fall day. I feel safe and nostalgic every time I smell its hearty aromas wafting from the oven as it bakes. This is an extraordinary one, folks; you gotta try it out!
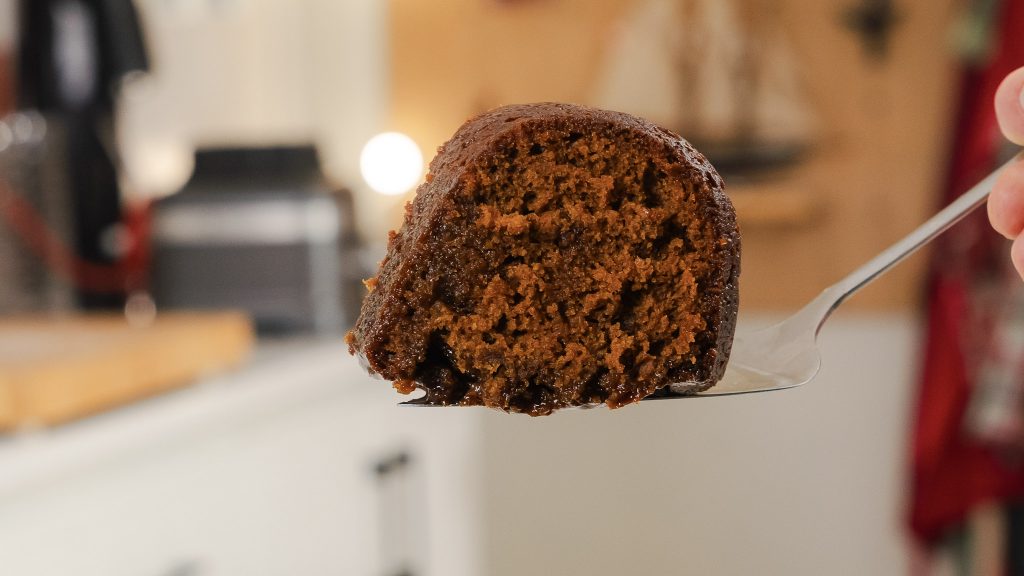
Why this Ginger Poke and Pour Cake is just so good!
Nostalgia aside, I do think this kind of dessert is world-class; it pretty much has everything!
Starting with the texture, it’s not just soft; it’s firm but fluffy and creamy. The bunt cake pan allows that outer shell to set so you get the perfect bite every time.
The flavours are just out of this world; there’s plenty of sweetness and richness, but this incredible balance of warm spices and sharp ginger cuts it. We talk a lot about having a balanced flavour profile; this folk is the perfect example.
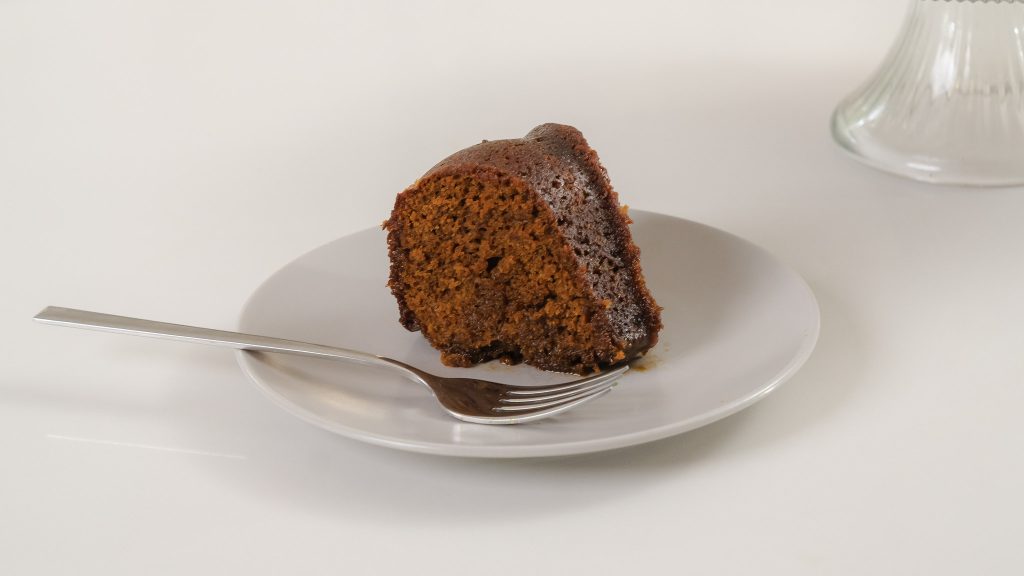
Why not add more butter?
There’s nothing wrong with adding a bit more butter and sugar to this dessert, like I said above, there’s so much spices and warmth going on it can take it!
All you have to do is add 1 cup of tightly packed brown sugar, 1/2 cup of butter and 1/3 cup of water. Heat it in a sauce pan and once it’s melted and the sugar is dissolved, you’re good to go!
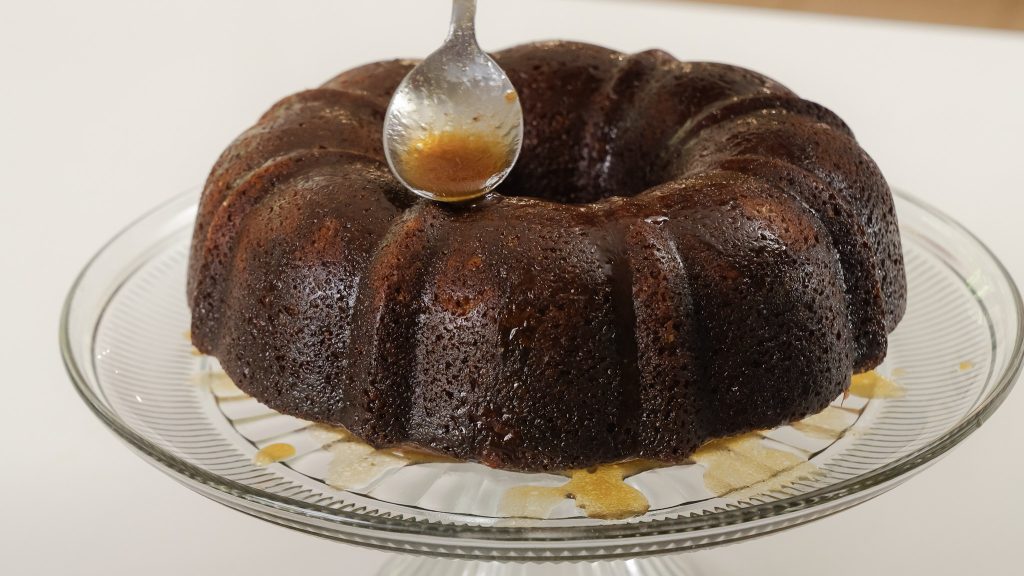
Don’t forget to Poke and Pour.
Once you have your cake fully baked and pulled out of the oven, one crucial step MUST be done. The poke and Pour. It just is going to be different if you don’t.
Push a long wooden skewer into the cake (make sure not to go all the way). The more holes, the better. Then, take your warm butter sauce and gently pour it all over your bunt pan. The holes allow the sauce to seep through the cake better and hydrate it with your rich, sweet, sticky sauce!
If you have kids, this is going to be the part they’ll most likely want to help with.

Want more desserts like my Mom’s Ginger Poke and Pour Cake?
If you liked this one, here are a few other desserts you have to try out!
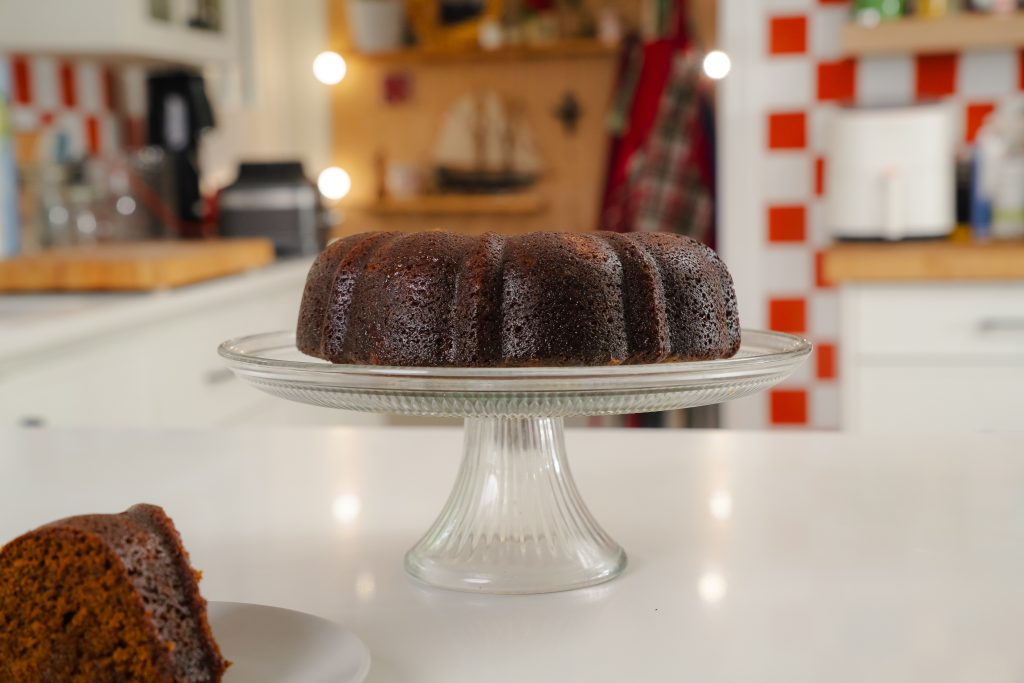



Ingredients:
For the cake
- 2 1/4 cups Flour
- 3/4 cup Brown sugar Firmly packed down
- 1 tsp Baking powder
- 2 tsp Cinnamon
- 1 tsp Ginger
- 1/2 tsp Baking soda
- 1/2 tsp Salt
- 1/2 tsp Nutmeg
- 1/4 tsp Cloves
- 3/4 cups Water
- 3/4 cup Oil
- 3/4 cup Molasses
- 2 large Eggs
For the butter sauce
- 1 cup Brown Sugar Tightly Packed
- 1/2 cup Butter
- 1/3 cup Water
Instructions:
- Heat oven to 350F. With a nob of butter, generously grease your fluted bunt pan.
- In a large bowl, blend your dry ingredients at a low speed until full incorporated.
- Add in your wet ingredients and beat on medium for about three mins or until all of the egg, oil and water is fully combined.
- Pour into your greased pan and place in your heated oven for 45-55 min or until an inserted toothpick comes out clean.
- In a small sauce pan, combine all butter sauce ingredients and gently heat until the butter is melted and the sugar is fully dissolved. Don't let it boil or get to hot.
- With a long wooden skewer or toothpick, prick holes around the bottom of the cake and gently pour your butter sauce into the holes to allow it to soak up all of the sauce.
- Allow to sit in the pan for 30 min.
- Flip in onto a platter or eat it it straight out of the pan! Serve warm or cold.
Andy Hay
Andy is the founder of ECK, Chef, and let’s admit it… the reason you’re here. He taught himself to cook, and it all paid off when he secured his spot in the season 5 Finale of Master Chef Canada. Now, Andy uses his big energy to showcase recipes that actually make people want to cook. His brand was built on butter and East Coast charm, and Andy’s kept that same energy ever since. Off-camera, you’ll find him doing what started it all: cooking for his two daughters, wife and the people he loves.
Similar recipes


Rate & leave a comment
28 Comments
— End of comments —
— No more comments to load —
This was so lovely and easy! I will be making this around Christmas for my family and friends, highly recommend!
So glad you enjoyed it, Makayla! Sounds perfect for Christmas with family and friends.
My husband says this is the best cake I have ever made. So easy and it really is the best cake. I have been baking for almost 50 years and take it very seriously, trust me, you have to try it. Thank you for sharing!……I am making another one right now!!
Wow—what an amazing compliment, Gail! So glad it was such a hit (and from a seasoned baker, no less!). Thanks for sharing the love!
I haven’t tried the recipe yet, but it looks and sounds amazing! I’m wondering if you can substitute AP Gluten free flour?
Hi Kim! We haven’t tried this one with gluten-free AP flour, but it should work! Just make sure it’s a 1:1 blend with xanthan gum for best results. Let us know how it turns out if you give it a go!
I’m assuming you flip the cake onto a serving plate after pouring the sauce into the holes…?
This sounds like you scoop it right out of the Bundt pan?!?!?
Yes, Sue! You can flip it onto a platter—although some people like to eat it straight out of the pan. Either one works!
Andy, if I don’t have a Bundt pan, can I use a large loaf pan?
Yes, you can! Just keep an eye on the bake time—it may need a bit longer in a loaf pan. Use a toothpick to check for doneness. Hope you love it!