
Soft Dinner Rolls with a Bakery-Style Finish


Founder / Chef / Everyone’s Best Friend
Andy Hay
Welcome to my kitchen. I hope to inspire you to grow as a home cook!
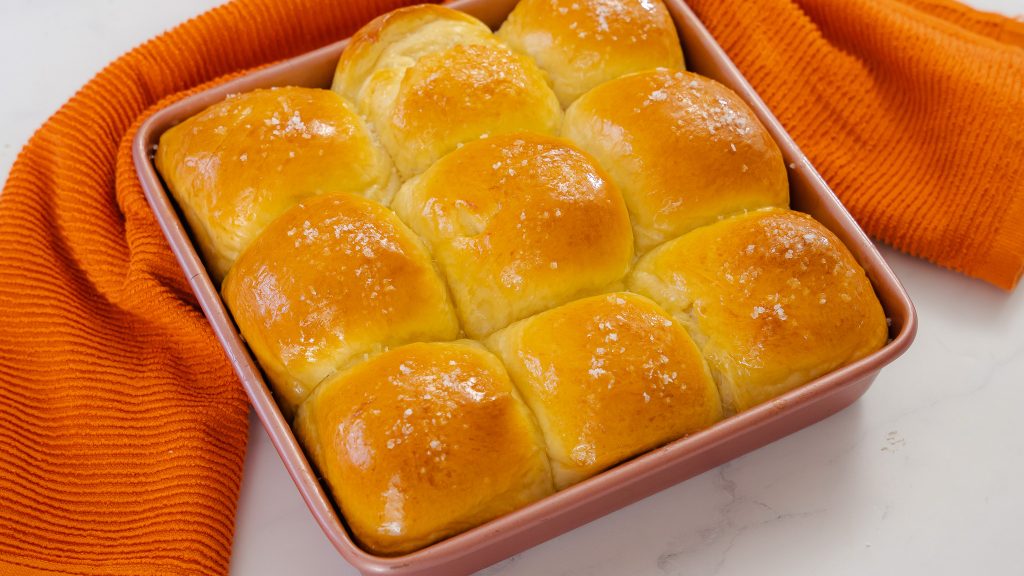
This soft dinner roll recipe is the kind of bread that makes people hover around the table before dinner even starts. The rolls are buttery, pillowy, beautifully golden brown on top, and soft enough to pull apart with your hands.
The good news? This dinner rolls recipe is way less intimidating than it looks. You’re working with simple ingredients, a little kneading, two rises, and a hot oven. That’s it. Whether this is your first homemade bread or your fiftieth, I promise we can get you to a tray of fluffy dinner rolls you’ll be ridiculously proud of.
Serve them with soups, Sunday dinner, holiday meals, or honestly just split one open and load it with butter while it’s still warm. That’s the move.
At a Glance
- Recipe: Homemade Soft Dinner Rolls
- Prep Time: 15 minutes
- First Rise: About 90 minutes
- Second Rise: About 30 minutes
- Bake Time: 25–30 minutes
- Oven Temperature: 350°F
- Yield: 9 large rolls
- Best For: Family dinners, holidays, soups and special occasions
- Texture: Soft, fluffy and buttery
- Best Tip: Let the dough rise fully both times. Rushing the rise is the fastest way to lose that soft, pillowy texture.



Ingredients:
- 1 cup Warm milk 95F-105F
- 2 1/4 tsp Dry active yeast check expiry
- 2 tbs sugar
- 1 egg
- 1/4 cup room temp butter, broken into pieces
- 1 tsp salt
- 3 cups bread flour (all purpose works too!)
Instructions:
- In a bowl mix together yeast, warm milk, and sugar. Set aside and allow to become frothy. About 5 minutes.
- In a separate bowl add in flour, egg, salt, and butter. Add in milk and yeast mixture and mix with your hands or a spatula to form a shaggy dough. Once dough has started to come together, pour onto a light floured surface and knead for about 10 minutes. You can also use a standup mixer with a dough hook attachment if you have one.
- After the dough has been kneaded for about 10 minutes, form into a ball and place into a lightly oiled bowl. Cover with plastic wrap and place it in a cosy spot in your kitchen and allow to double in size. It takes about 90 minutes. The yeast likes warm environments so find a warm spot to speed up the process.
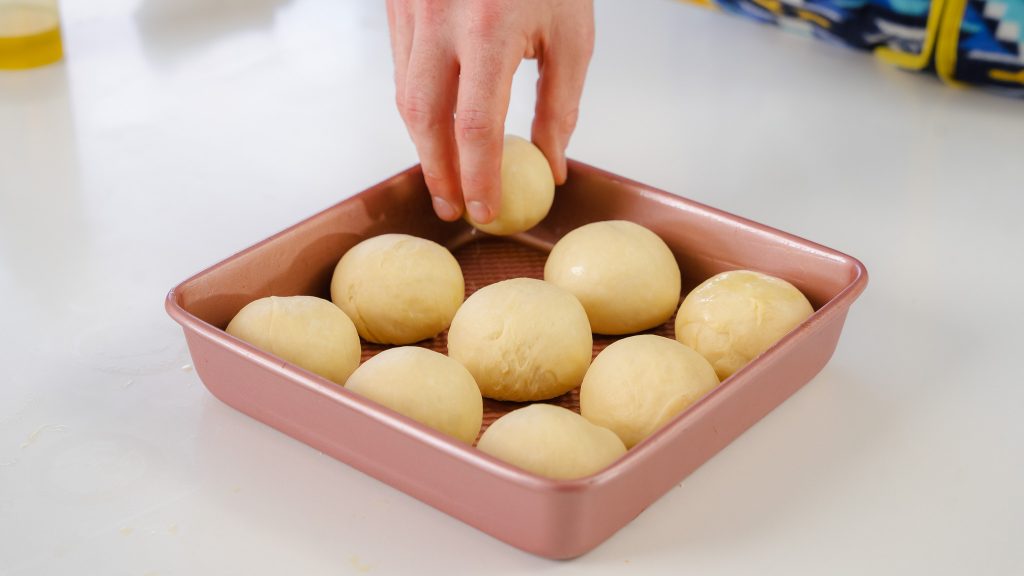
- After the dough has doubled in size, punch out the air and place dough into the counter. Cut the dough into 9 equal pieces and then roll them into a ball. Make sure the top of the dough ball is smooth. I like to take a piece and stretch the top of the dough while pinching and sealing the bottom. Make sure the rolls are smooth on top and sealed on the bottom. Place dough balls into a 9X9 inch baking pan and be sure to allow some space between dough balls as they will increase in size during the second rise.
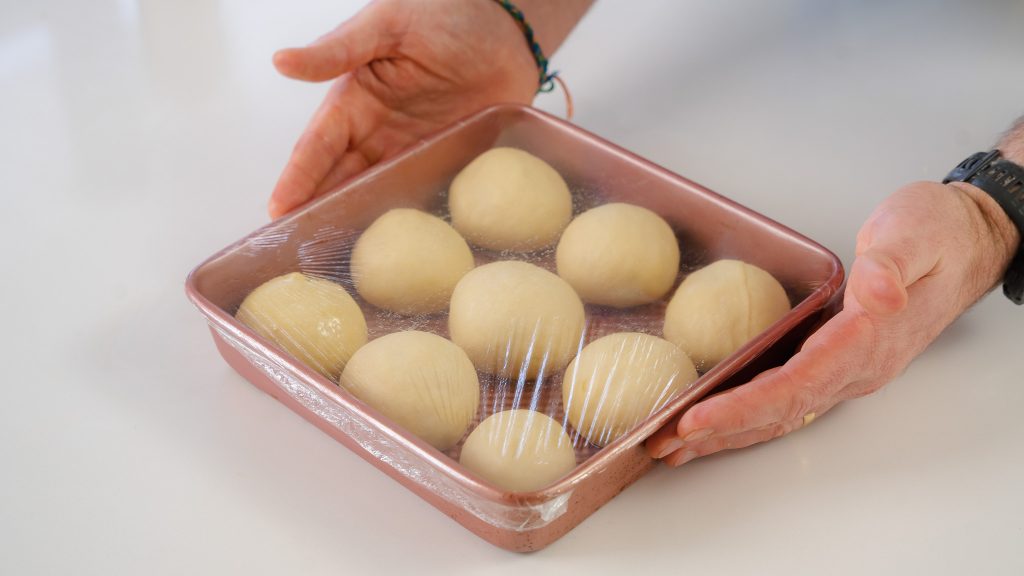
- After all of the dough balls have been shaped and placed into baking pan, cover with plastic wrap and allow them to rise again for about 30 minutes. This is a crucial step to ensure a pillow soft dinner roll.
- Preheat oven to 350F
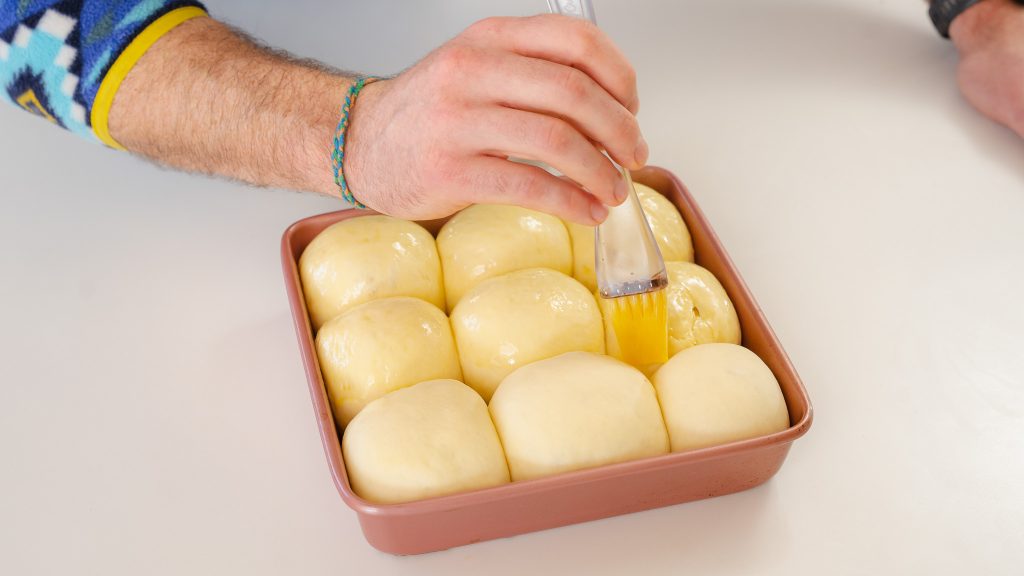
- After the dough balls have doubled again, brush the top of the roll with an egg wash and then place them in the oven to bake for 25-30 minutes or until the tops are beautifully brown.
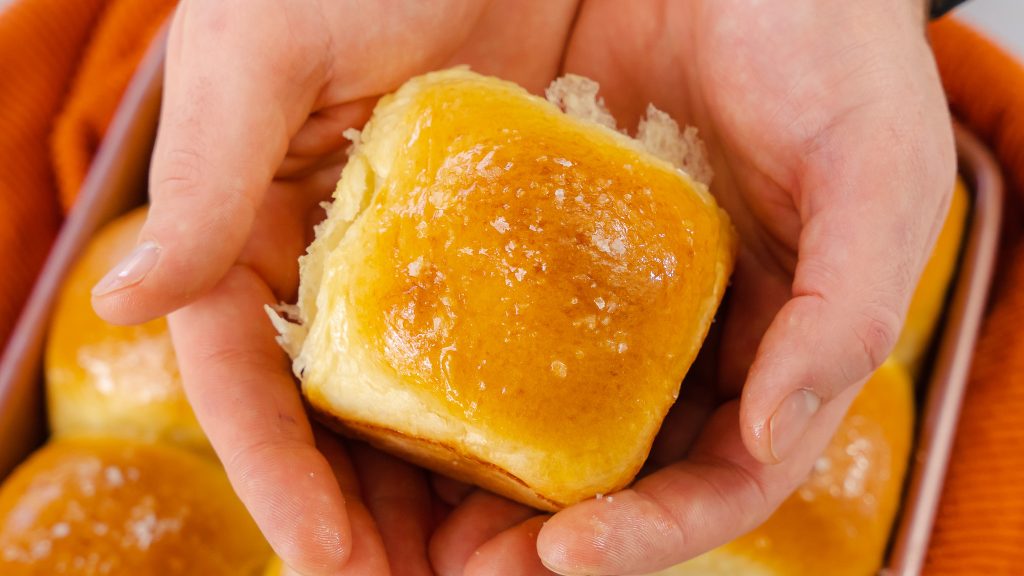
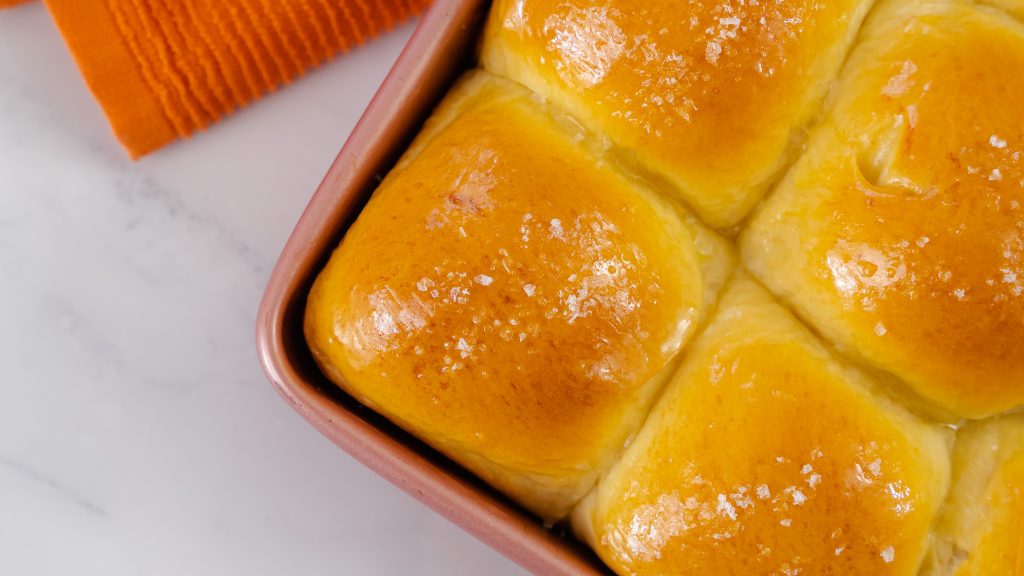
- Remove from oven, and while the rolls are still hot brush on some butter and sprinkle with salt. ENJOY!!!!
Don’t Be Intimidated
If this is your first time working with yeast dough, welcome to the club.
Bread can feel like a big leap at first, but this soft dinner roll recipe is really about a handful of simple steps: mix, knead, rise, shape, rise again and bake.
The biggest secrets are temperature and patience.
Your milk should be warm, not hot. The yeast needs time to wake up. And the dough needs a cozy place to rise.
If you’re using a stand mixer, the dough hook does a lot of the heavy lifting. Start on low speed until the dough comes together, then let the mixer handle most of the kneading.
If you’re going by hand, turn the dough onto a lightly floured surface or clean work surface and knead until it becomes smooth and elastic.
Either way, we’re getting there.
Ingredients That Make a Big Difference
Milk
I use whole milk because the extra fat helps create softer, richer homemade dinner rolls.
Active dry yeast
Check the expiry date. I have learned this lesson the hard way, and dead yeast will ruin your day.
Some soft dinner roll recipes use instant yeast, which can often be mixed directly into the dry ingredients, but this recipe was developed with active dry yeast. Stick with the original method the first time.
Sugar
Sugar helps feed the yeast and adds just a little sweetness.
Egg
The egg brings richness and helps give the dough structure.
Salt
Don’t skip it. Even a teaspoon or two in bread dough makes a major difference in flavor.
Butter
The recipe uses room temperature butter broken into pieces. Those little chunks get incorporated into the dough and help create that soft, tender crumb.
Bread flour
Bread flour is what I use here because of its higher protein content, but all-purpose flour can work too.
Shaping Your Dough
Once the dough has finished its first rise, gently punch out the air and move it onto the counter.
Divide it into 9 equal pieces.
Take each piece and pull the edges underneath while keeping the top smooth. Pinch the seams together on the bottom so the top of the roll stays tight and neat.
Then place the seam side down and cup your hand around the dough. Move your hand in small circles to create a smooth ball.
This part is weirdly satisfying.
Place the shaped rolls into a lightly greased baking pan, leaving a little room between them because they’ll expand during the second rise.
Cover loosely with plastic wrap and let them get nice and puffy.
How to Know Your Dough Is Ready
During the first rise, the dough should roughly double in size.
You can keep it in a lightly oiled large bowl or mixing bowl covered with plastic wrap. If you’re using a stand mixer, the dough should begin pulling away from the sides of the bowl once it has been kneaded properly.
If the dough is still very sticky, resist the urge to dump in tons more flour. A little tackiness is normal.
You’re looking for a dough that feels smooth, elastic and soft—not dry.

Baking Your Soft Dinner Rolls
Once the second rise is done, preheat the oven to 350°F and make sure your oven rack is positioned in the centre.
Brush the tops with egg wash before baking.
This is what gives you that gorgeous golden brown finish.
Bake the rolls for 25–30 minutes, or until the tops are deeply golden.
As soon as they come out of the oven, brush them with butter and sprinkle with a little salt.
That last butter brush is doing serious work, folks.
Make-Ahead Instructions
These soft dinner rolls are excellent for planning ahead.
You can bake them fully, cool them completely, and store them in an airtight container.
For next day serving, keep them covered and reheat gently.
For longer storage, place the cooled rolls in a freezer bag and freeze. Andy has confirmed in the comments that they freeze very well; he recommends reheating baked rolls in a 300°F oven for about 8–10 minutes.
If you’re in a hurry, the microwave works, but the oven will give you the best fresh-baked texture.
You can also keep leftovers in the refrigerator, although bread tends to dry out faster there than at room temperature.
If you’ve gone to the trouble of making homemade rolls, you might as well really commit.
This homemade butter recipe uses heavy cream and simple kitchen tools, with no butter churn required. You can even make it in a stand mixer, hand mixer or blender.
Spread fresh homemade butter over a warm roll and tell me that isn’t worth the effort.
Soft Dinner Rolls FAQ
Why are my dinner rolls not fluffy?
The most common reasons are inactive yeast, not enough rise time, or adding too much flour.
Make sure the yeast is fresh, give the dough enough time to double, and keep the dough soft rather than dry.
How do I know when the dough has been kneaded enough?
The dough should look smooth and feel elastic. If you’re using a stand mixer with a dough hook, it should begin pulling away from the sides of the bowl. By hand, the dough should become less shaggy and more cohesive as you knead.
Can I use instant yeast instead of active dry yeast?
You can often substitute instant yeast in bread recipes, but the method may change because instant yeast doesn’t always need to be proofed first.
For this recipe, I recommend using the active dry yeast listed in the recipe card for the most reliable result.
Can I make dinner rolls ahead of time?
Absolutely. The easiest method is to bake the rolls fully, let them cool, and store them covered. You can reheat them the next day or freeze them for longer storage.
Can I freeze soft dinner rolls?
Yes. Let them cool completely, then place them in a freezer-safe airtight container or freezer bag. Reheat in the oven when ready to serve.
Why do dinner rolls need two rises?
The first rise develops the dough and gives the yeast time to create gas. The second rise happens after shaping and helps the individual rolls become light and fluffy before baking.
Can I use all-purpose flour instead of bread flour?
Yes. All-purpose flour works too. Bread flour usually gives a little more structure and chew, but either can produce soft rolls.
How do I keep homemade dinner rolls soft?
Don’t overbake them, brush the tops with butter while they’re warm, and store cooled rolls in an airtight container.
Can I use a bread machine?
Yes. A bread machine can handle the mixing, kneading and first rise using the dough setting. After that, shape the dough into 9 rolls, let them rise again and continue with the recipe as written.
Final Thoughts
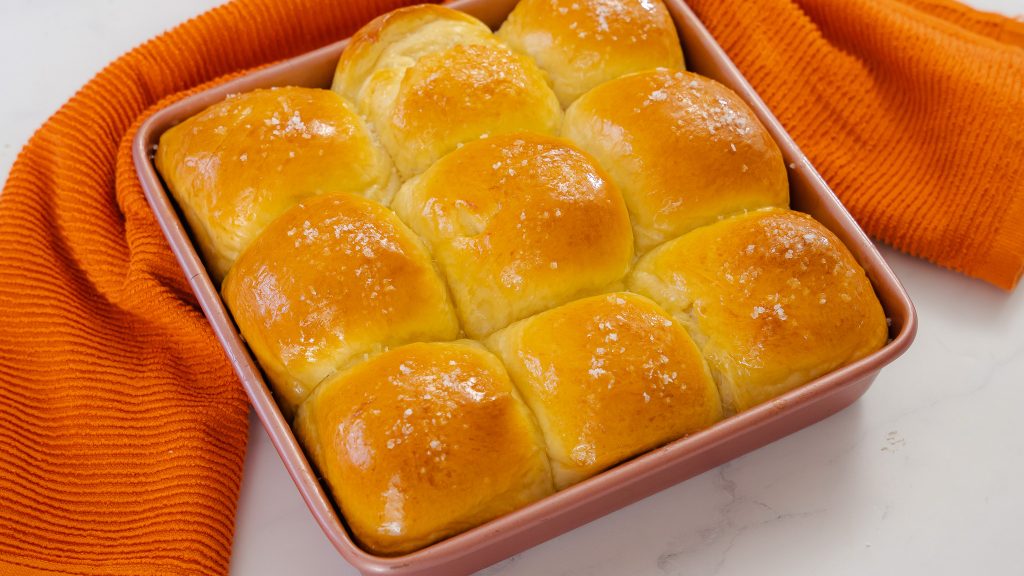
These soft dinner rolls are one of those recipes that make you feel like a full-on bread person once that tray comes out of the oven.
They’re soft, buttery, golden on top and way easier than they look. Take your time with the rises, keep the dough soft, and don’t be afraid of a little kneading.
Make them once and I have a feeling they’ll end up on repeat.

Other Recipes You Will Love!
Cheddar and herb no knead bread
Buttery pull-apart Dinner Rolls
Andy Hay
Andy is the founder of ECK, Chef, and let’s admit it… the reason you’re here. He taught himself to cook, and it all paid off when he secured his spot in the season 5 Finale of Master Chef Canada. Now, Andy uses his big energy to showcase recipes that actually make people want to cook. His brand was built on butter and East Coast charm, and Andy’s kept that same energy ever since. Off-camera, you’ll find him doing what started it all: cooking for his two daughters, wife and the people he loves.
Similar recipes


Rate & leave a comment
39 Comments
— End of comments —
— No more comments to load —
Made for Thanksgiving dinner. Easy recipe. Turned out great! Just the right amount for a small group.
Love it, Corrie!
Made these today , they look and smell amazing, very easy to follow .
Happy Thanksgiving all.
Thanks for trying these out, Sandra! Happy Thanksgiving!
BEST ROLLS EVER!!!!!!!!!
Love the enthusiasm, Sherry! So happy to hear you loved them!
My family loved these so much, I’m always making them with dinner now! They come out so perfectly soft and fluffy.
Love it, Ashely! So happy they wok out every time!
This recipe took quite the bit of work but it was all worth it. It was fluffy and just sweet enough. A very delightful and delectable find. 🙂
Love this, Cam! Thanks for giving it a go!