
DIY Pizza Pockets


Founder / Chef / Everyone’s Best Friend
Andy Hay
Welcome to my kitchen. I hope to inspire you to grow as a home cook!
This one is just so much fun folks. These DIY Pizza Pockets are perfect for lunch boxes, parties or for sparking that child-like flame! With a quick and easy dough recipe (with a little dollop of Greek yogurt for added protein), these guys come together quickly and are guaranteed to be a family favourite. It’s safe to say these might be a standard recipe in my household!
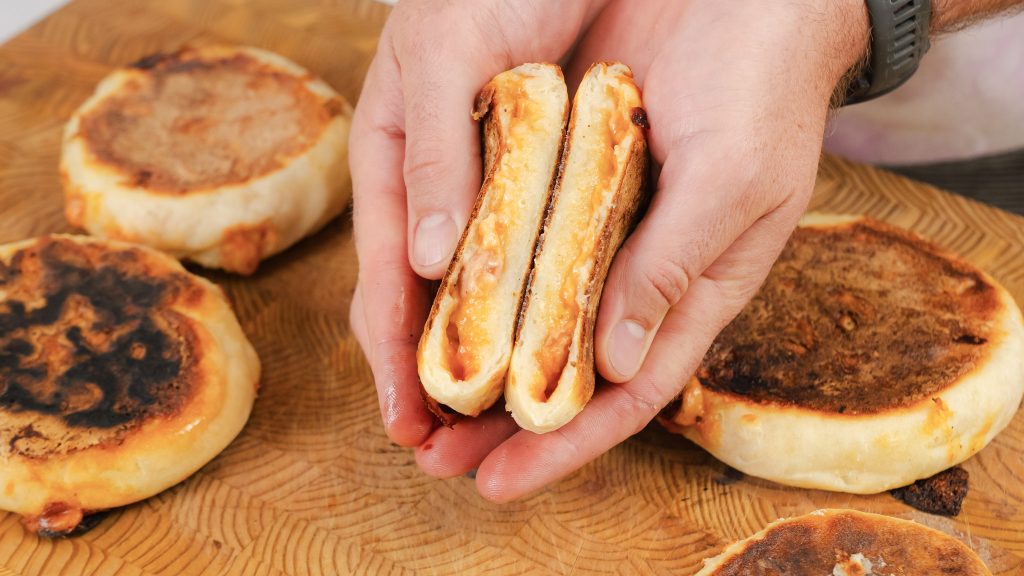
Key Ingredients for these DIY Pizza Pockets
For a recipe like this, we gotta break down the dough, understand it and make it perfect every time!
We used Greek yogurt in this dough. It acts as the main binder and hydrator of the recipe. It has a great body that adds great texture and a light tang, which is always welcome in my recipes.
Using Greek yogurt is a fabulous way to add extra protein to your everyday diet!
When it comes to the cheese, we used a generic store-bought mozzarella cheese. If you want to buy some beautiful local or imported cheese, please feel free! Just ensure it has a lower moisture content so the inside of your pizza pocket is ooey-gooey and not sad and wet.
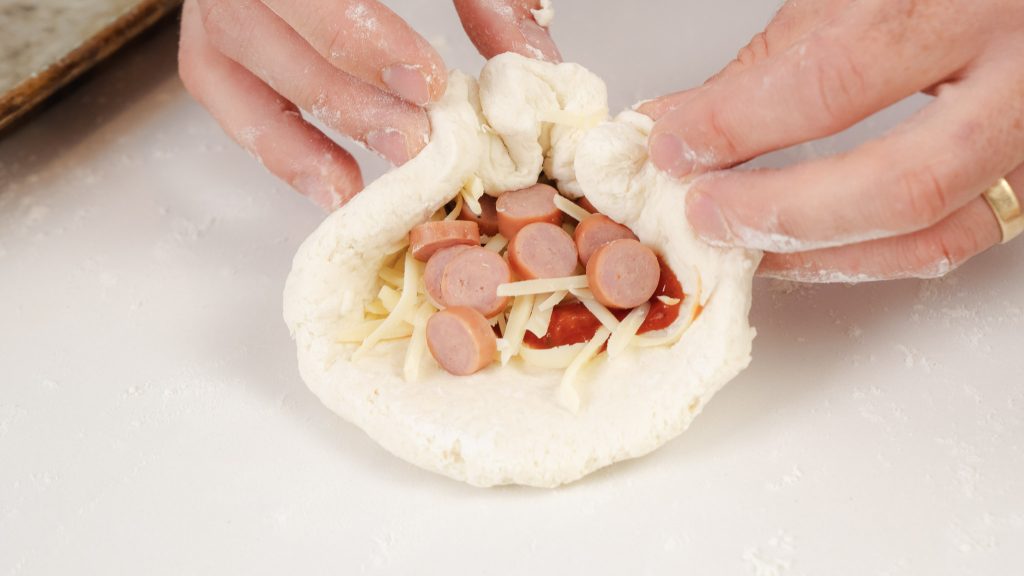
Ways to make it your own DIY Pizza Pockets
The best part about this recipe is how customizable it is. We went with the classic flavours of mozzarella and pepperoni, but there are so many ingredients to explore!
Think of your favourite toppings, give them a rough chop and toss them in. I’m going to try a Hawaiian and a Mediterranean version!
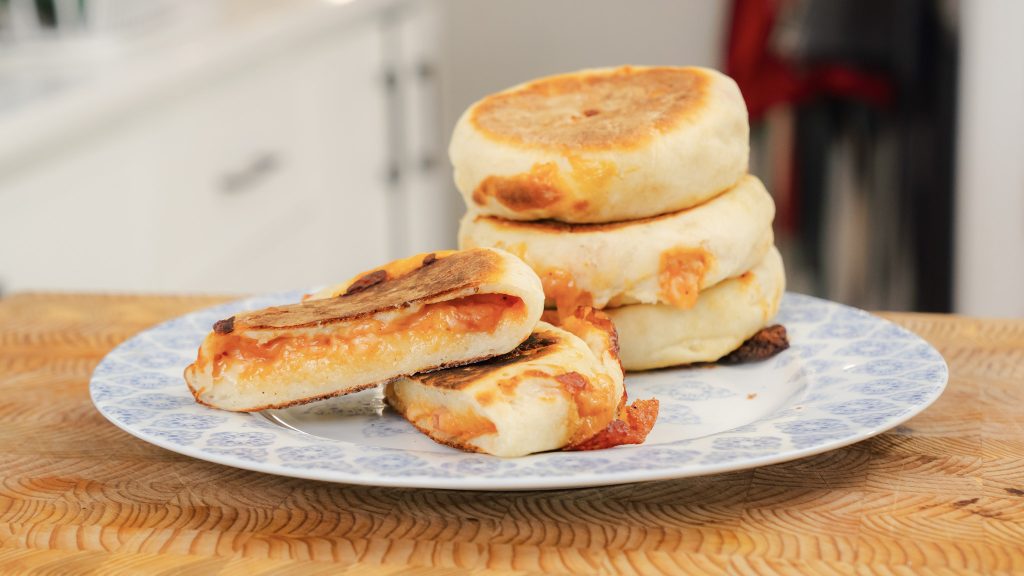
Tips on nailing these DIY Pizza Pockets
You should know a few tips before making your DIY Pizza Pockets.
An even ball goes a long way- Make sure that each of your eight dough balls is of equal size or weight. The best way to do this is to weigh out your finished dough and divide it by how many portions you want. So, in this case, eight balls of dough. This will make sure they cook evenly and at roughly the same time.
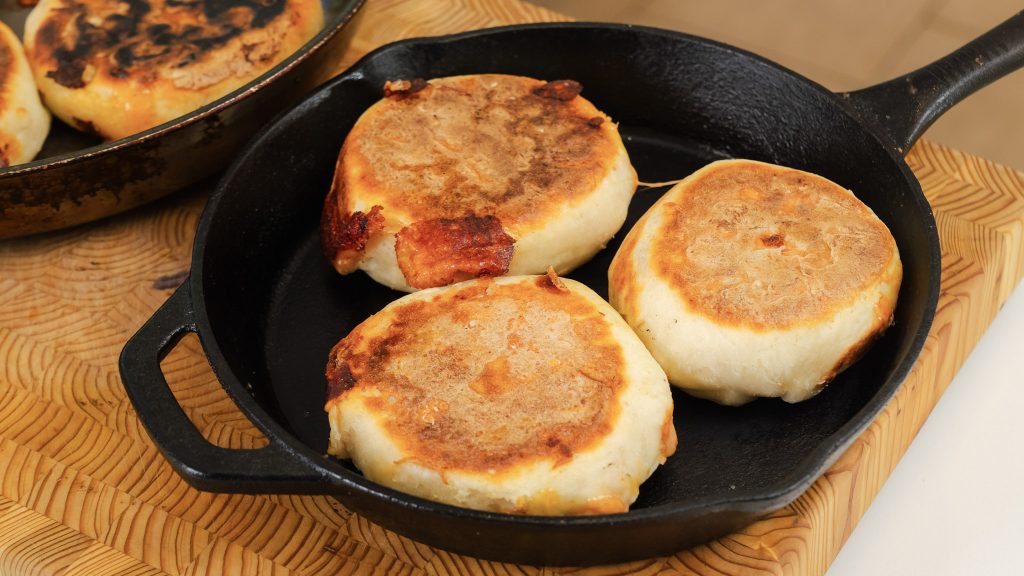
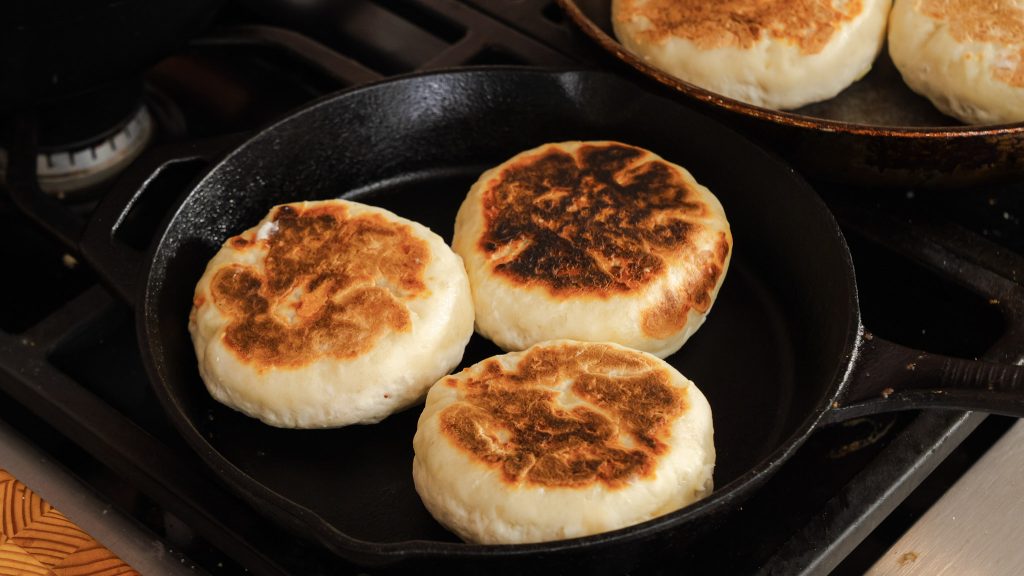
Keep the heat loooow- We don’t want undercooked dough. We want to take our time developing that beautiful crust and cooking the dough thoroughly. This will also give us ample time to transform the filling into hot, cheesy goodness.
Other recipes to check out
If you like the sound of these quick and easy DIY Pizza Pockets, here are a few other family friendly recipes we think you’re going to love.
Boursin, Broccoli, Mushroom, White Pizza.



Ingredients:
For the dough
- 3 cups Flour
- 3 cups Greek Yogurt
- 3 tbs Baking Powder
- 2 tsp Kosher Salt
For the filling
- 1 cup Shredded Mozzarella
- 1 cup Pepperoni Sliced
- 1 cup Tomato Sauce
Instructions:
- In a bowl mix together flour, greek yogurt, baking powder, and salt. Mix with a wooden spoon and then tip onto a lightly floured work surface and knead until dough is smooth.
- Divide the dough into 8 equal balls.
- Flatted dough balls and then drop 1 tbs of sauce, 1 tbs mozzarella, and pepperoni into the center of the flattened dough. Using your hands, fold the sizes over to seal in the pizza toppings. Flatted out the ball to make a burger or hockey puck shape.
- Place a pan over medium low heat and place the pizza buns onto the pan. Cook each side for around 7-10 minutes per side. Make sure temperature isn’t too high or they will burn. Take your time with this process.
- After about 15-20 minutes on the pan, remove and ENJOY! How fun are these!
Andy Hay
Andy is the founder of ECK, Chef, and let’s admit it… the reason you’re here. He taught himself to cook, and it all paid off when he secured his spot in the season 5 Finale of Master Chef Canada. Now, Andy uses his big energy to showcase recipes that actually make people want to cook. His brand was built on butter and East Coast charm, and Andy’s kept that same energy ever since. Off-camera, you’ll find him doing what started it all: cooking for his two daughters, wife and the people he loves.
Similar recipes


Rate & leave a comment
22 Comments
— End of comments —
— No more comments to load —
I made the pizza ones in the air fryer and they turned out great. Great for student lunches! Making them with pulled pork and bbq sauce today.
How long and what temp did you use in the air fryer?
Thanks, Patricia! Let use know how the pork version works out!
These are amazing. The dough is perfect and so easy and you can switch up the filling in so many ways. I pan fried a few, air fried a few, and baked a few and all of them were perfect. I will likely bake them in the future just out of ease of cooking them all at once. Such a wonderful recipe, thank you so much!
How long did you bake them for and what temperature please?
Thank you
Glad these were such a hit, Meg!
Can you give baking instructions? Or air fryer? Rather than cook in two batches on the stove, it would be great to set and forget these for added convenience with kid prep. Thanks Andy!
Hi Elle, you can bake them at 400°F for about 15–18 minutes, or air fry at 375°F for 8–10 minutes until golden and crisp.
Hello! Looking forward to making these. Can they be frozen after they’re cooked, and if so how long do they last in the freezer? Would love to make these in bulk to be ready for whenever.
Hi! Yes—you can freeze these after baking! Just let them cool completely, then store in an airtight container or freezer bag. They’ll keep in the freezer for up to 2–3 months. Reheat in the oven or air fryer to keep the crust nice and crisp!
Can you freeze these?
Has anyone turned this into a breakfast hot pocket (switching out sauce/pepperoni for scrambled eggs)
Hi Andrea, you can freeze them—just let them cool completely, then store in an airtight container or freezer bag for up to 2–3 months. And yes, you can make a breakfast version! Swap the sauce and pepperoni for scrambled eggs, cheese, and any breakfast add-ins you like (spinach, cooked bacon, veggies). Enjoy!